Re-wiring Monoprice Select Mini V2 Heat Bed
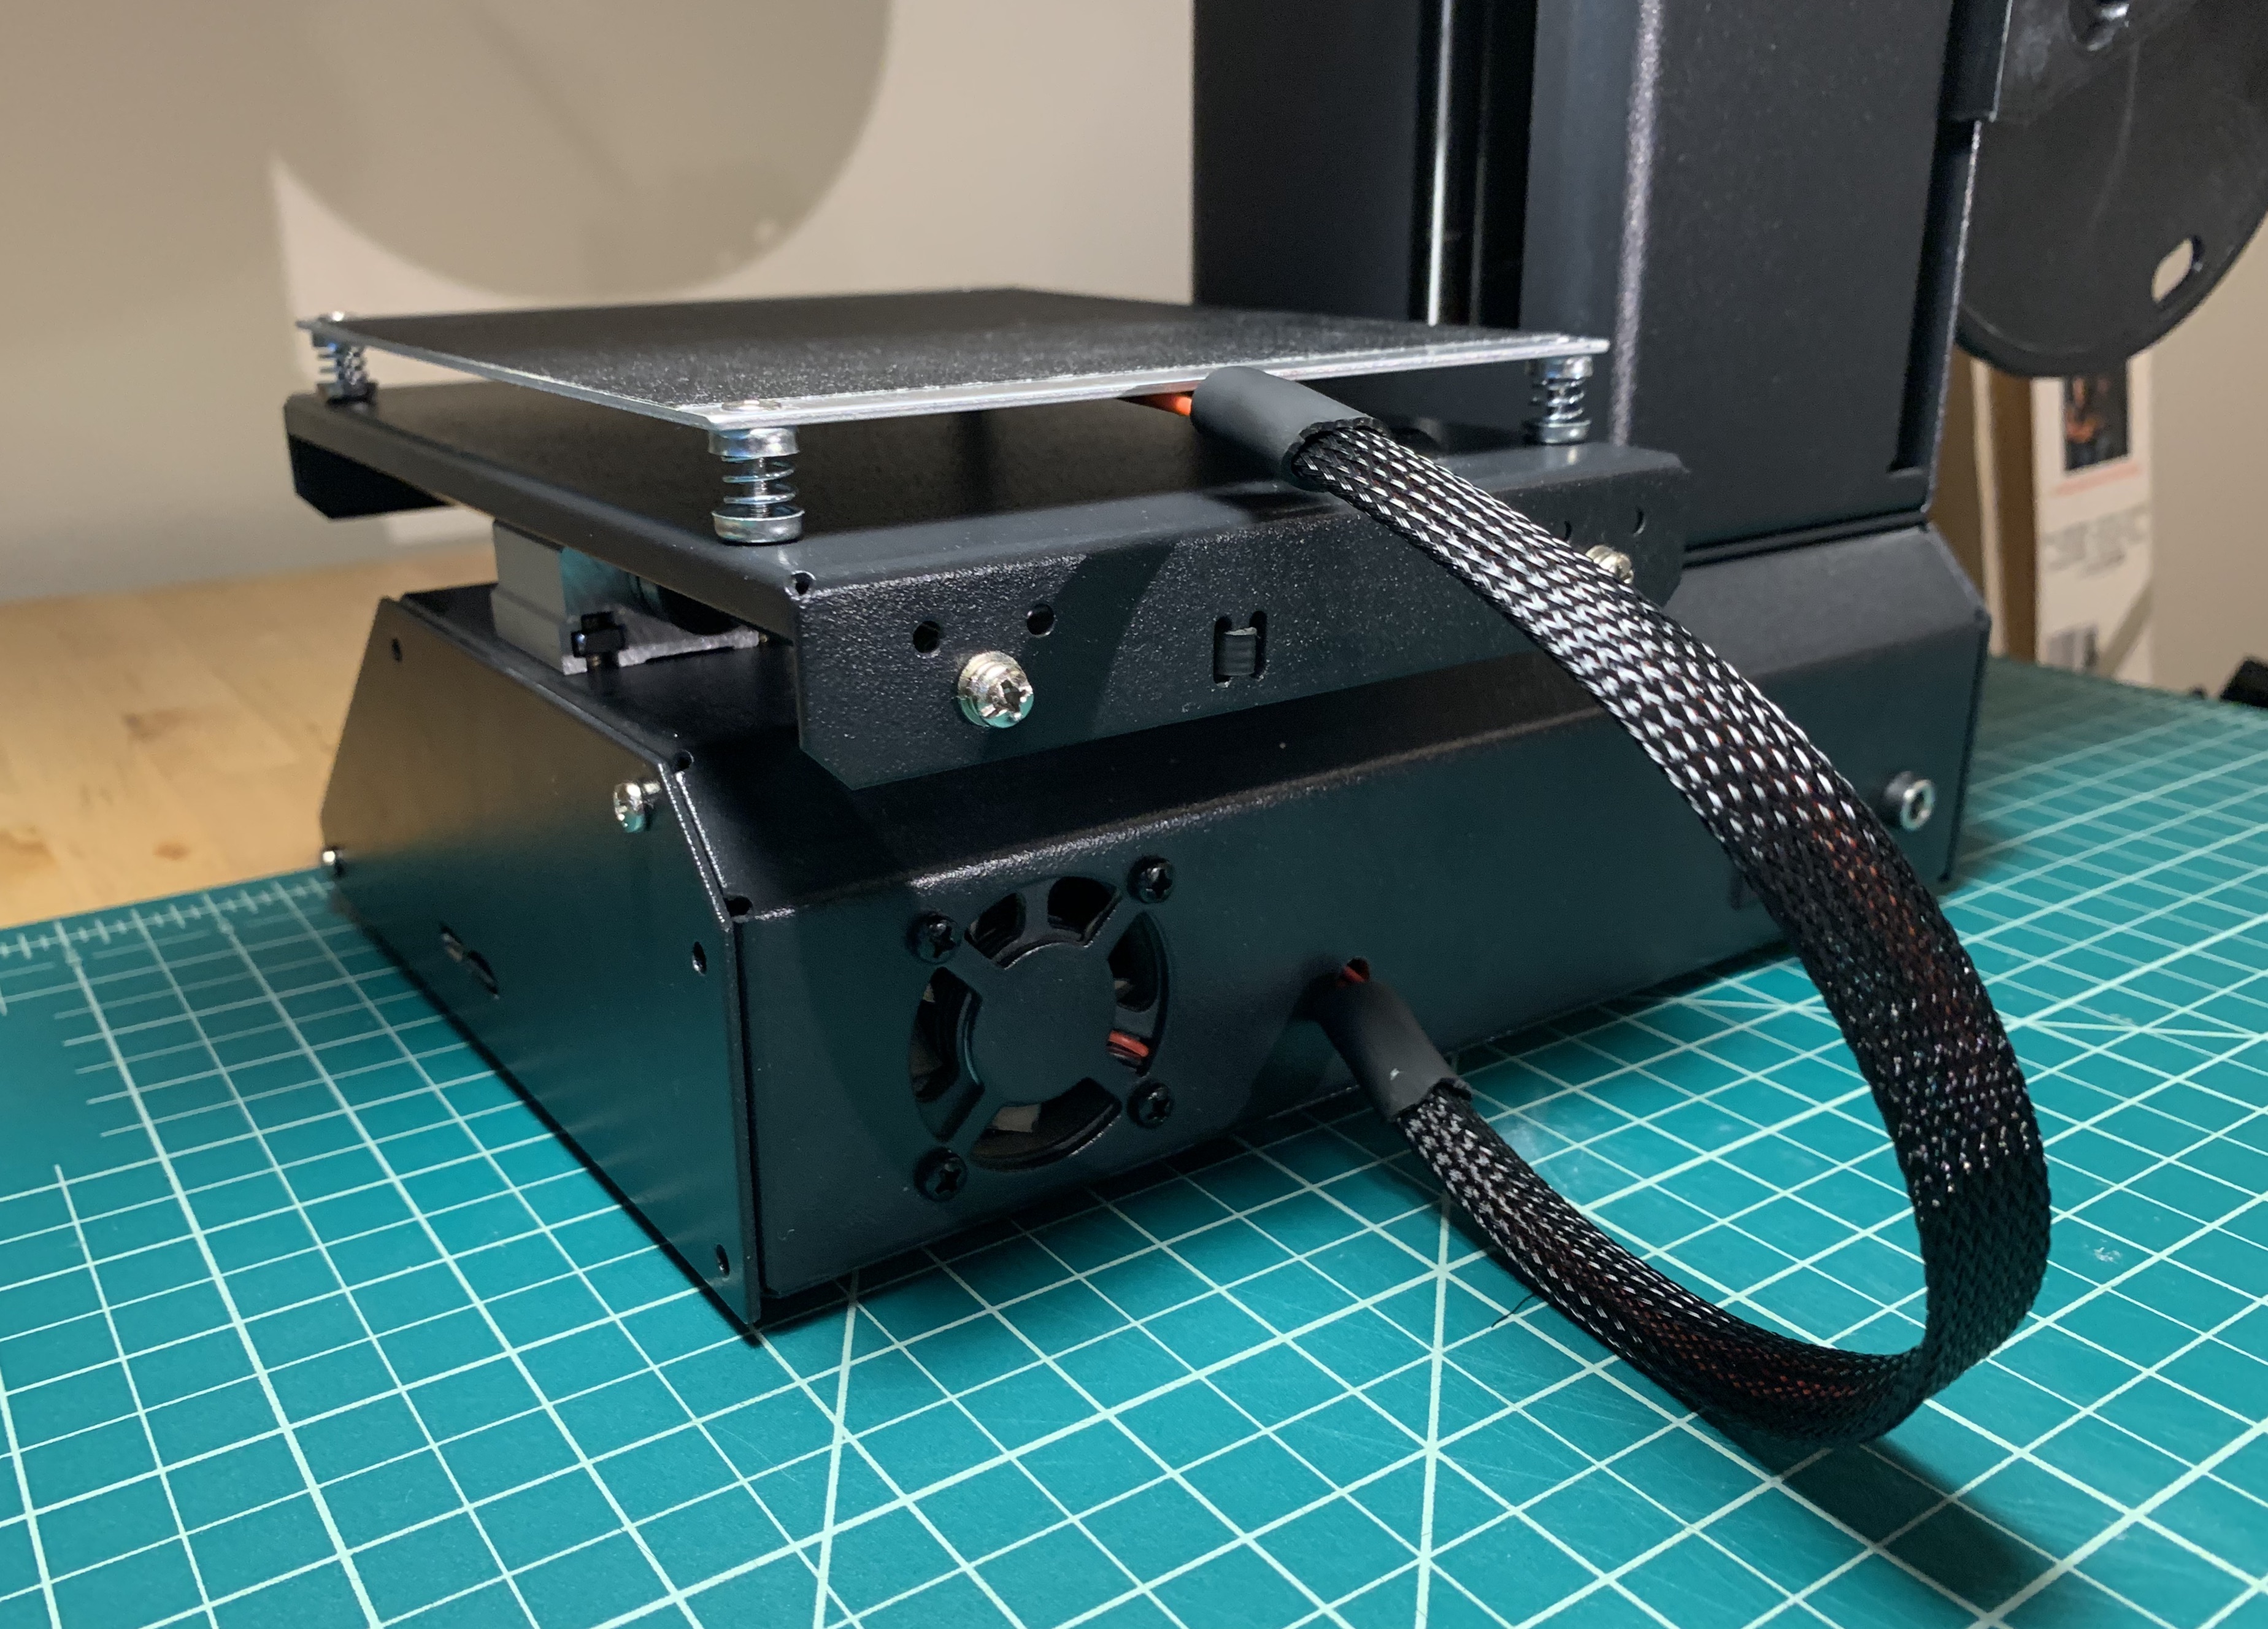
While the Monoprice Select Mini is a great low cost way to get into 3D printing it definitely has its flaws. The most common flaw seems to be an issue with how the heat bed is wired. The wires run up inside the printer and are tightly zip tied underneath the heat bed. The heat bed moves back and forth so after a while the wires will start to fray here. You’ll start to notice inconsistent bed temperatures or incorrect readings for the temperature if these wires break.
I’d actually run into this problem a while ago and opted for a quick fix. I cut off the zip tie that was holding the wires so tight. Then I cut out the frayed section of wire and soldered it back together adding heat shrink for some extra protection. It worked for a bit but soon I ran into the exact same problem again. This time the wire frayed at the end of the heat shrink I’d added.
Not wanting to deal with the problem over and over again I went for what is hopefully a more permanent fix. There’s really no good way to run the wiring through the printer without putting strains on it. A fairly common fix seems to be to run the wires outside of the printer instead.
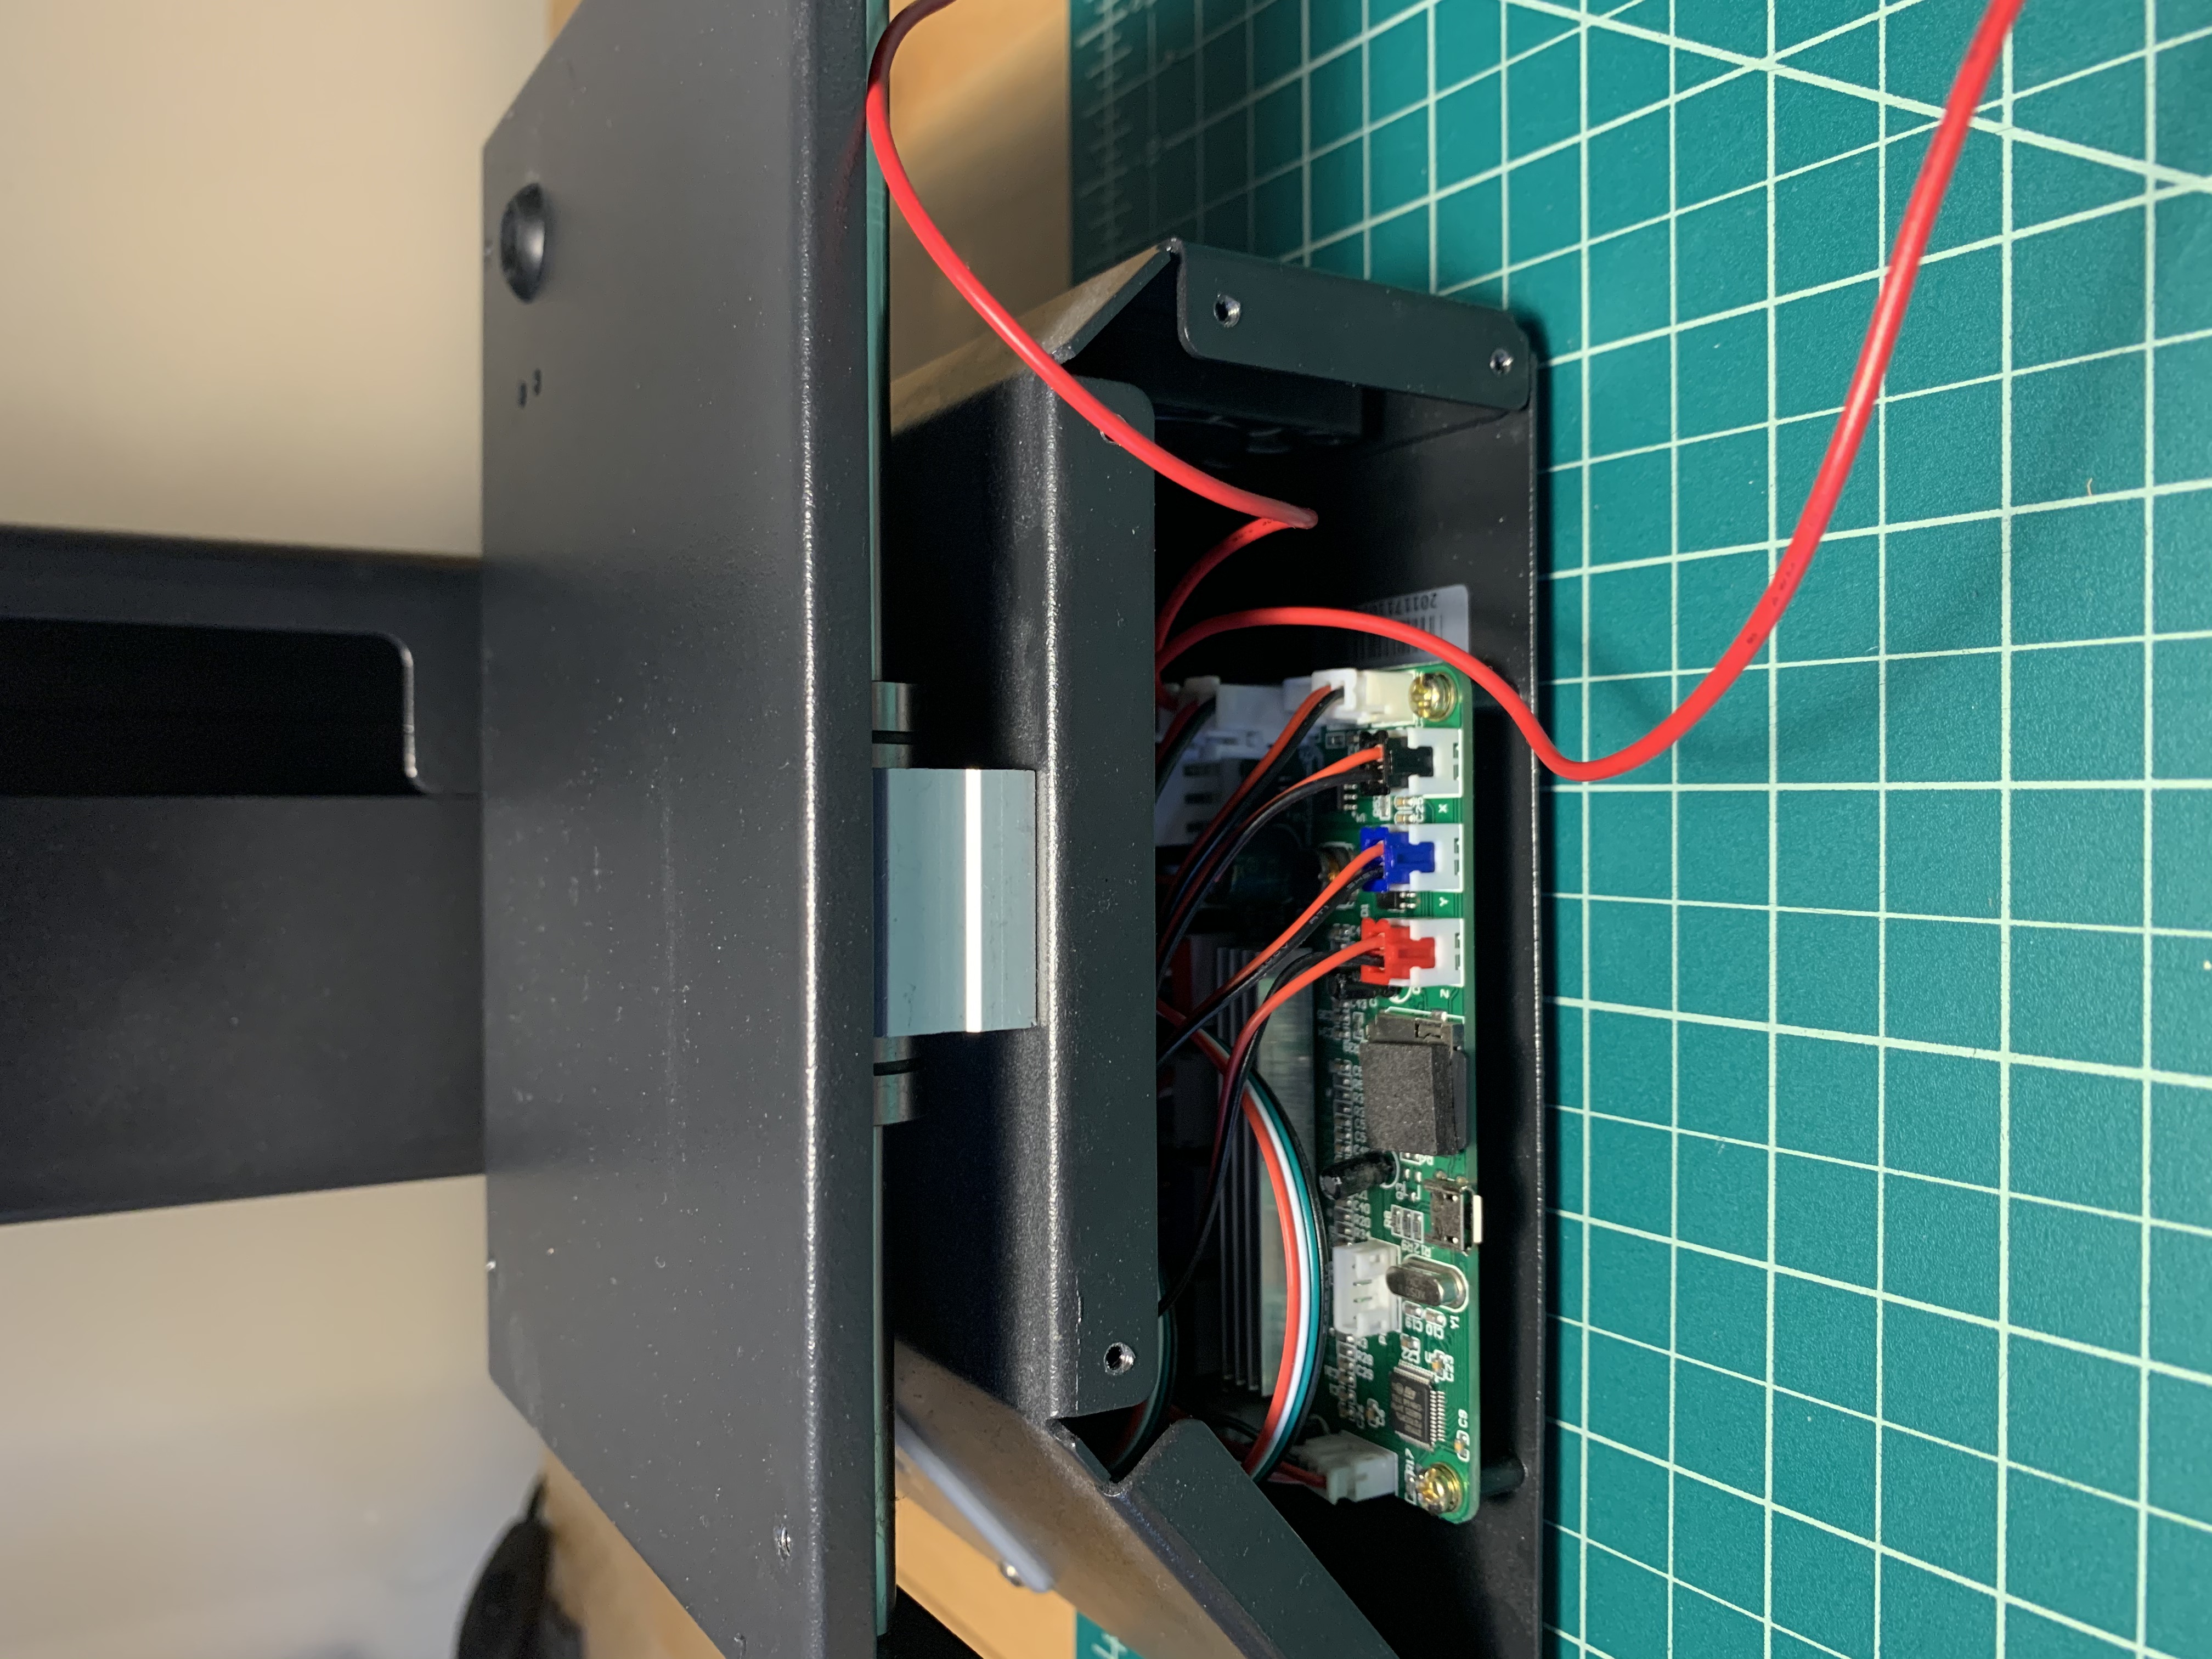
To do this you’ll need to start by unscrewing the heat bed of the printer. You will also need to unscrew the side panel for access to the wiring. You can cut any wires you’re replacing. Make sure to mark each one so you know where they connect. If any wires aren’t damaged you can just unplug them from the board.
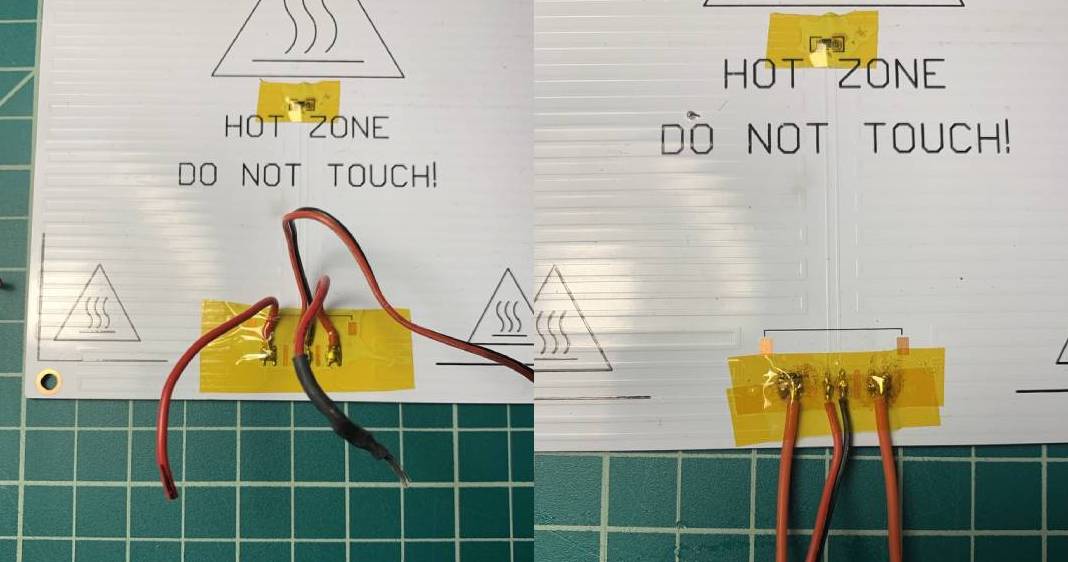
The wires face inwards as they are meant to run into the middle of the printer. Since they will now be going out the back remove the old wires. Replace them with new wires matching the gauge written on them. Attach the new wires and re-solder any you are keeping facing the opposite direction. Once all the wires are soldered on cover the connections with kapton tape.
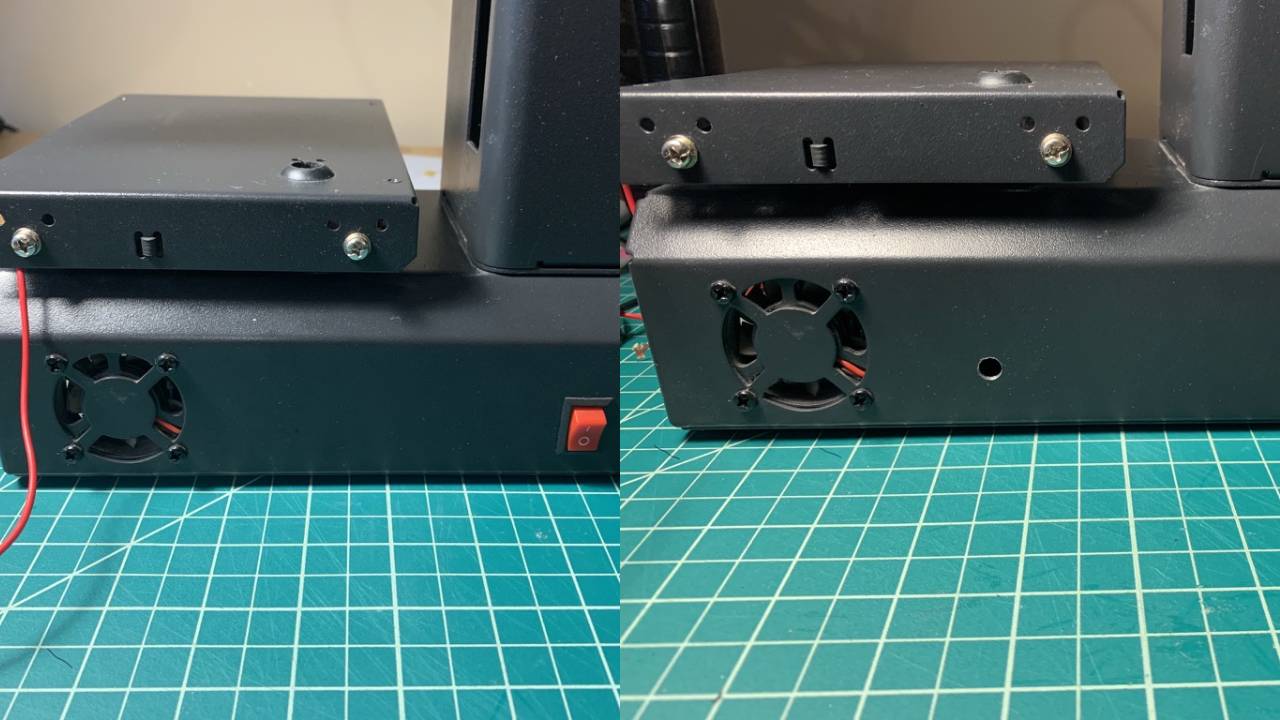
Next you will need to drill a small hole in the back of the printer. You may need a slightly larger one if you intend to keep any of the old wires and need to run the plug through the hole. I ended up replacing all the wires, running them through the hole, then reconnecting them to the plugs.
A word of warning here, there is a risk of metal shavings damaging the electronics inside your printer. I placed a folder piece of painters tape inside with the sticky side towards where I was drilling to catch any shavings. By drilling slowly the shavings fell to the outide and I didn't have any issues but you should be aware of the risk.
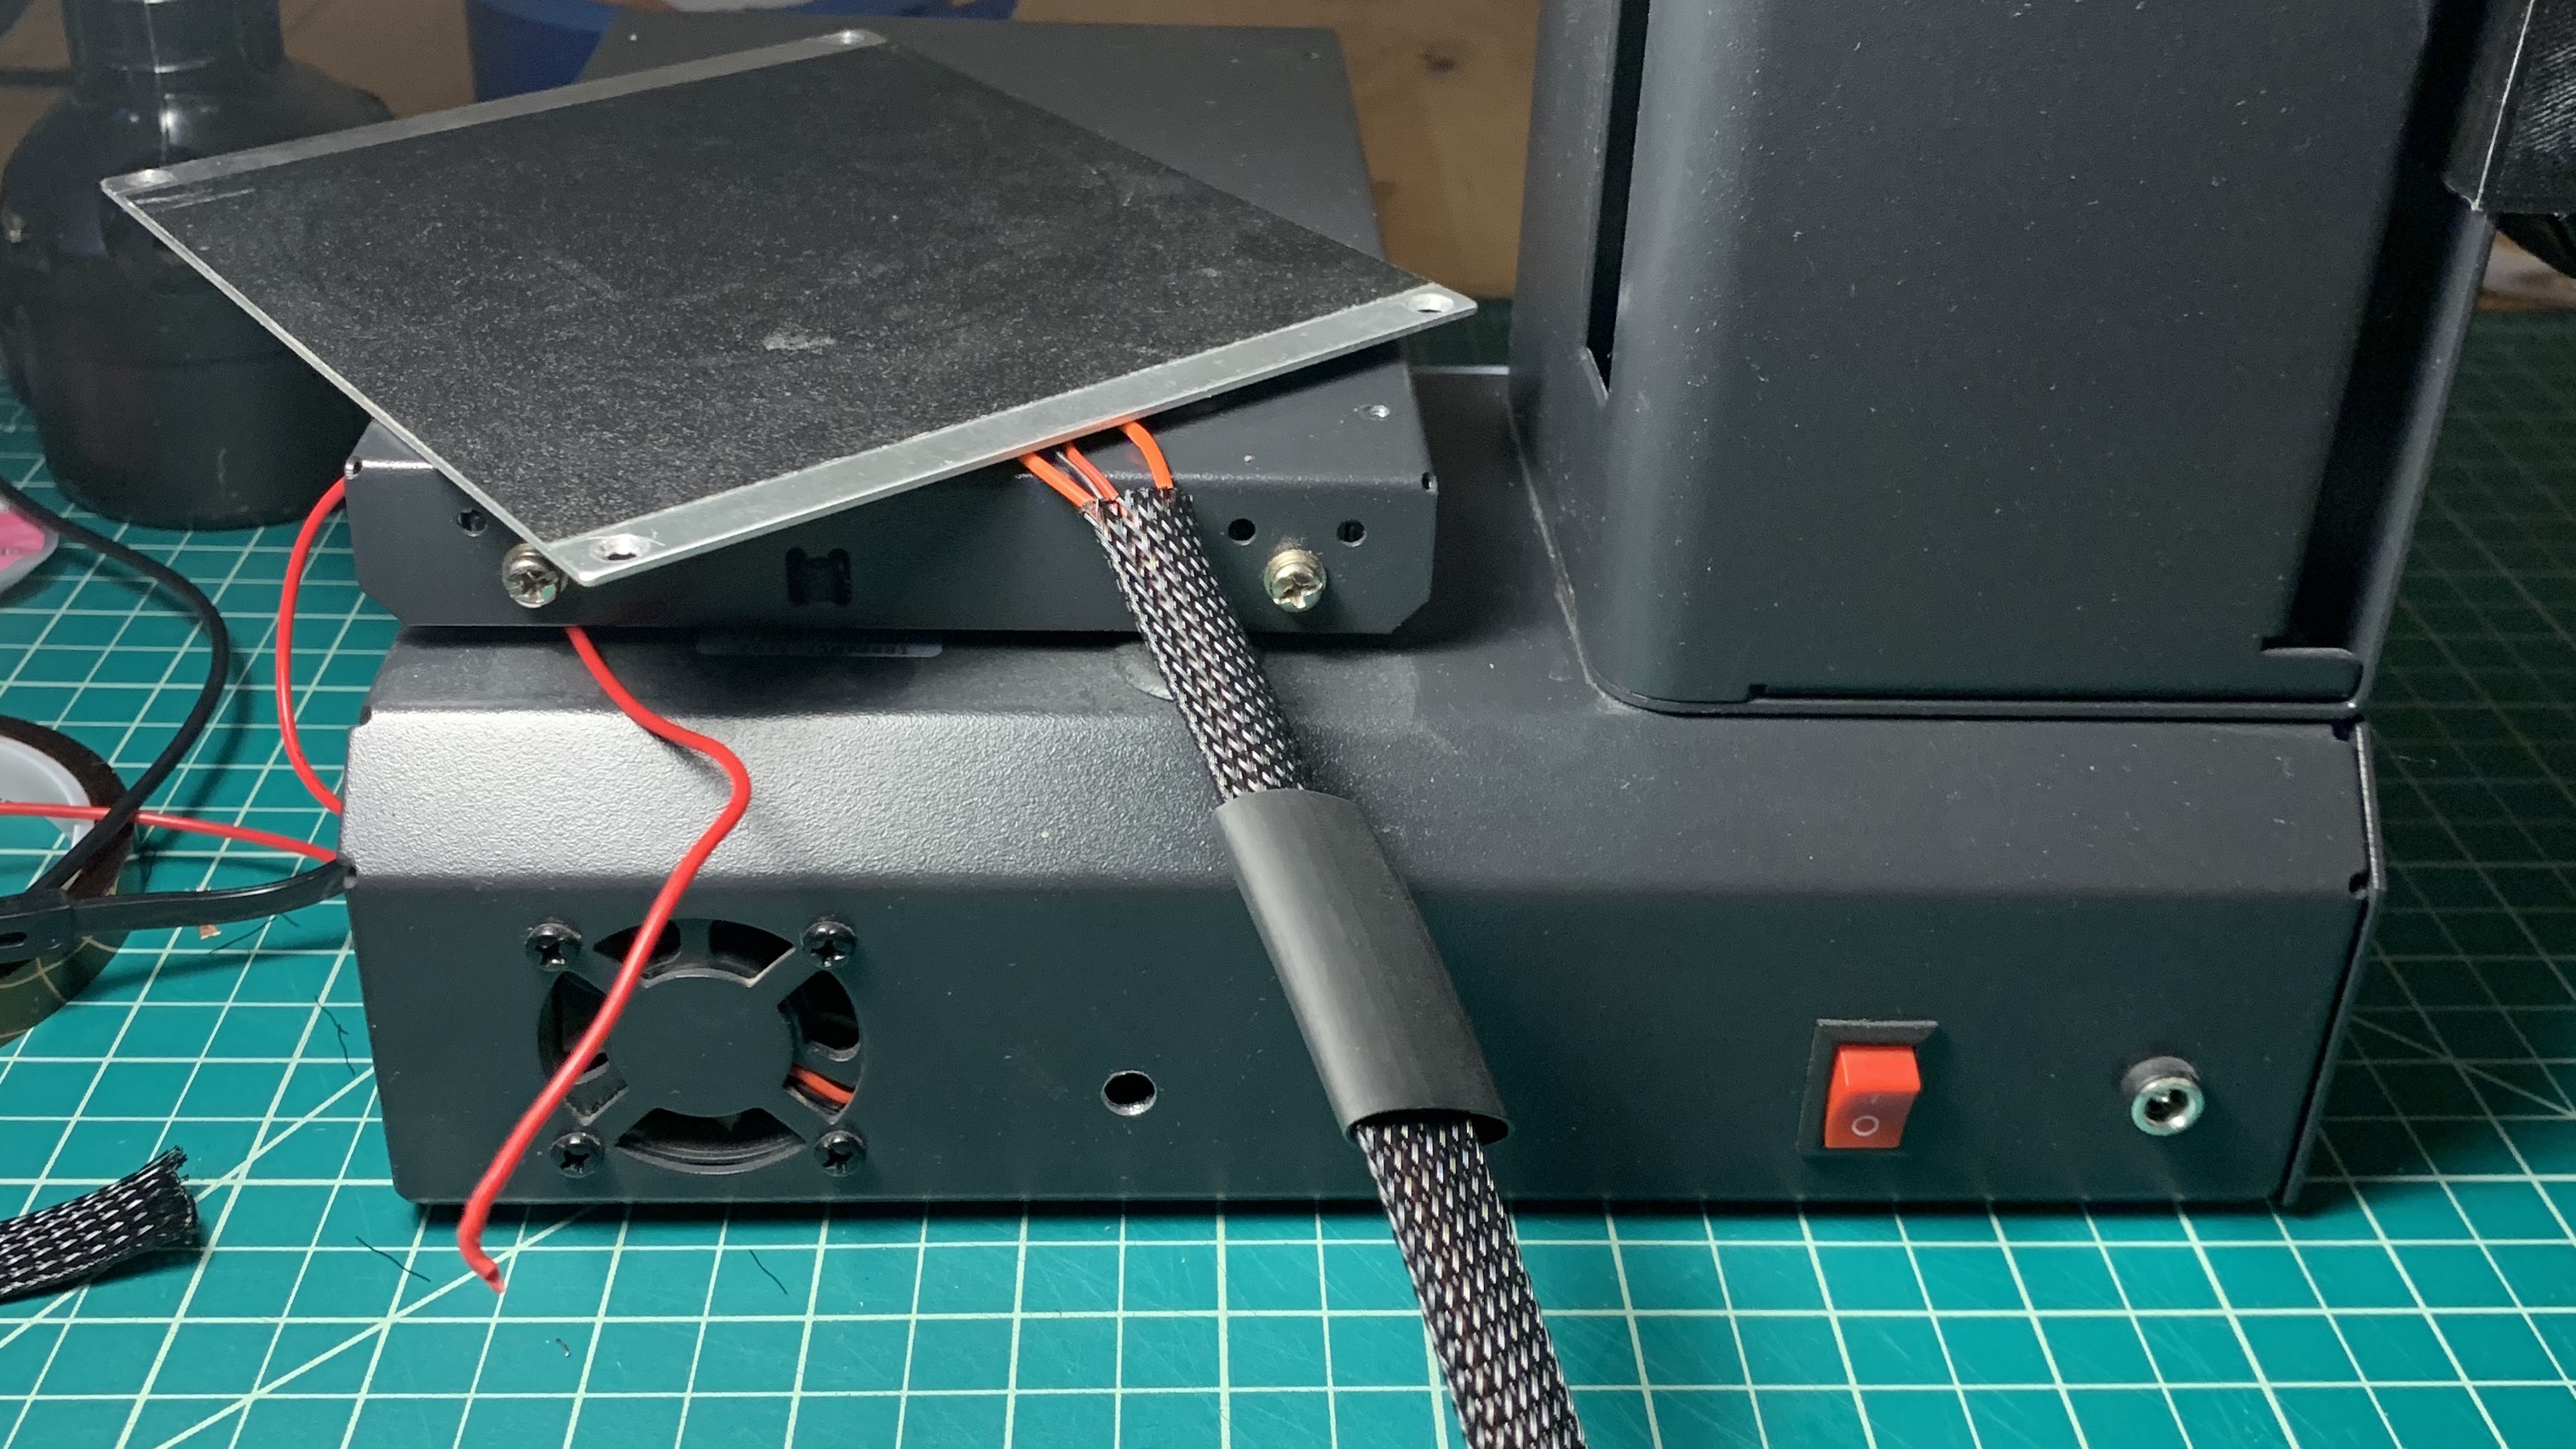
I also added some braided sleeving and heat shrink to protect the wires as they are now exposed. Once this is on reconnect everything and screw the heat bed back in place. Turn on the printer and run a pre-heat to test everything works.
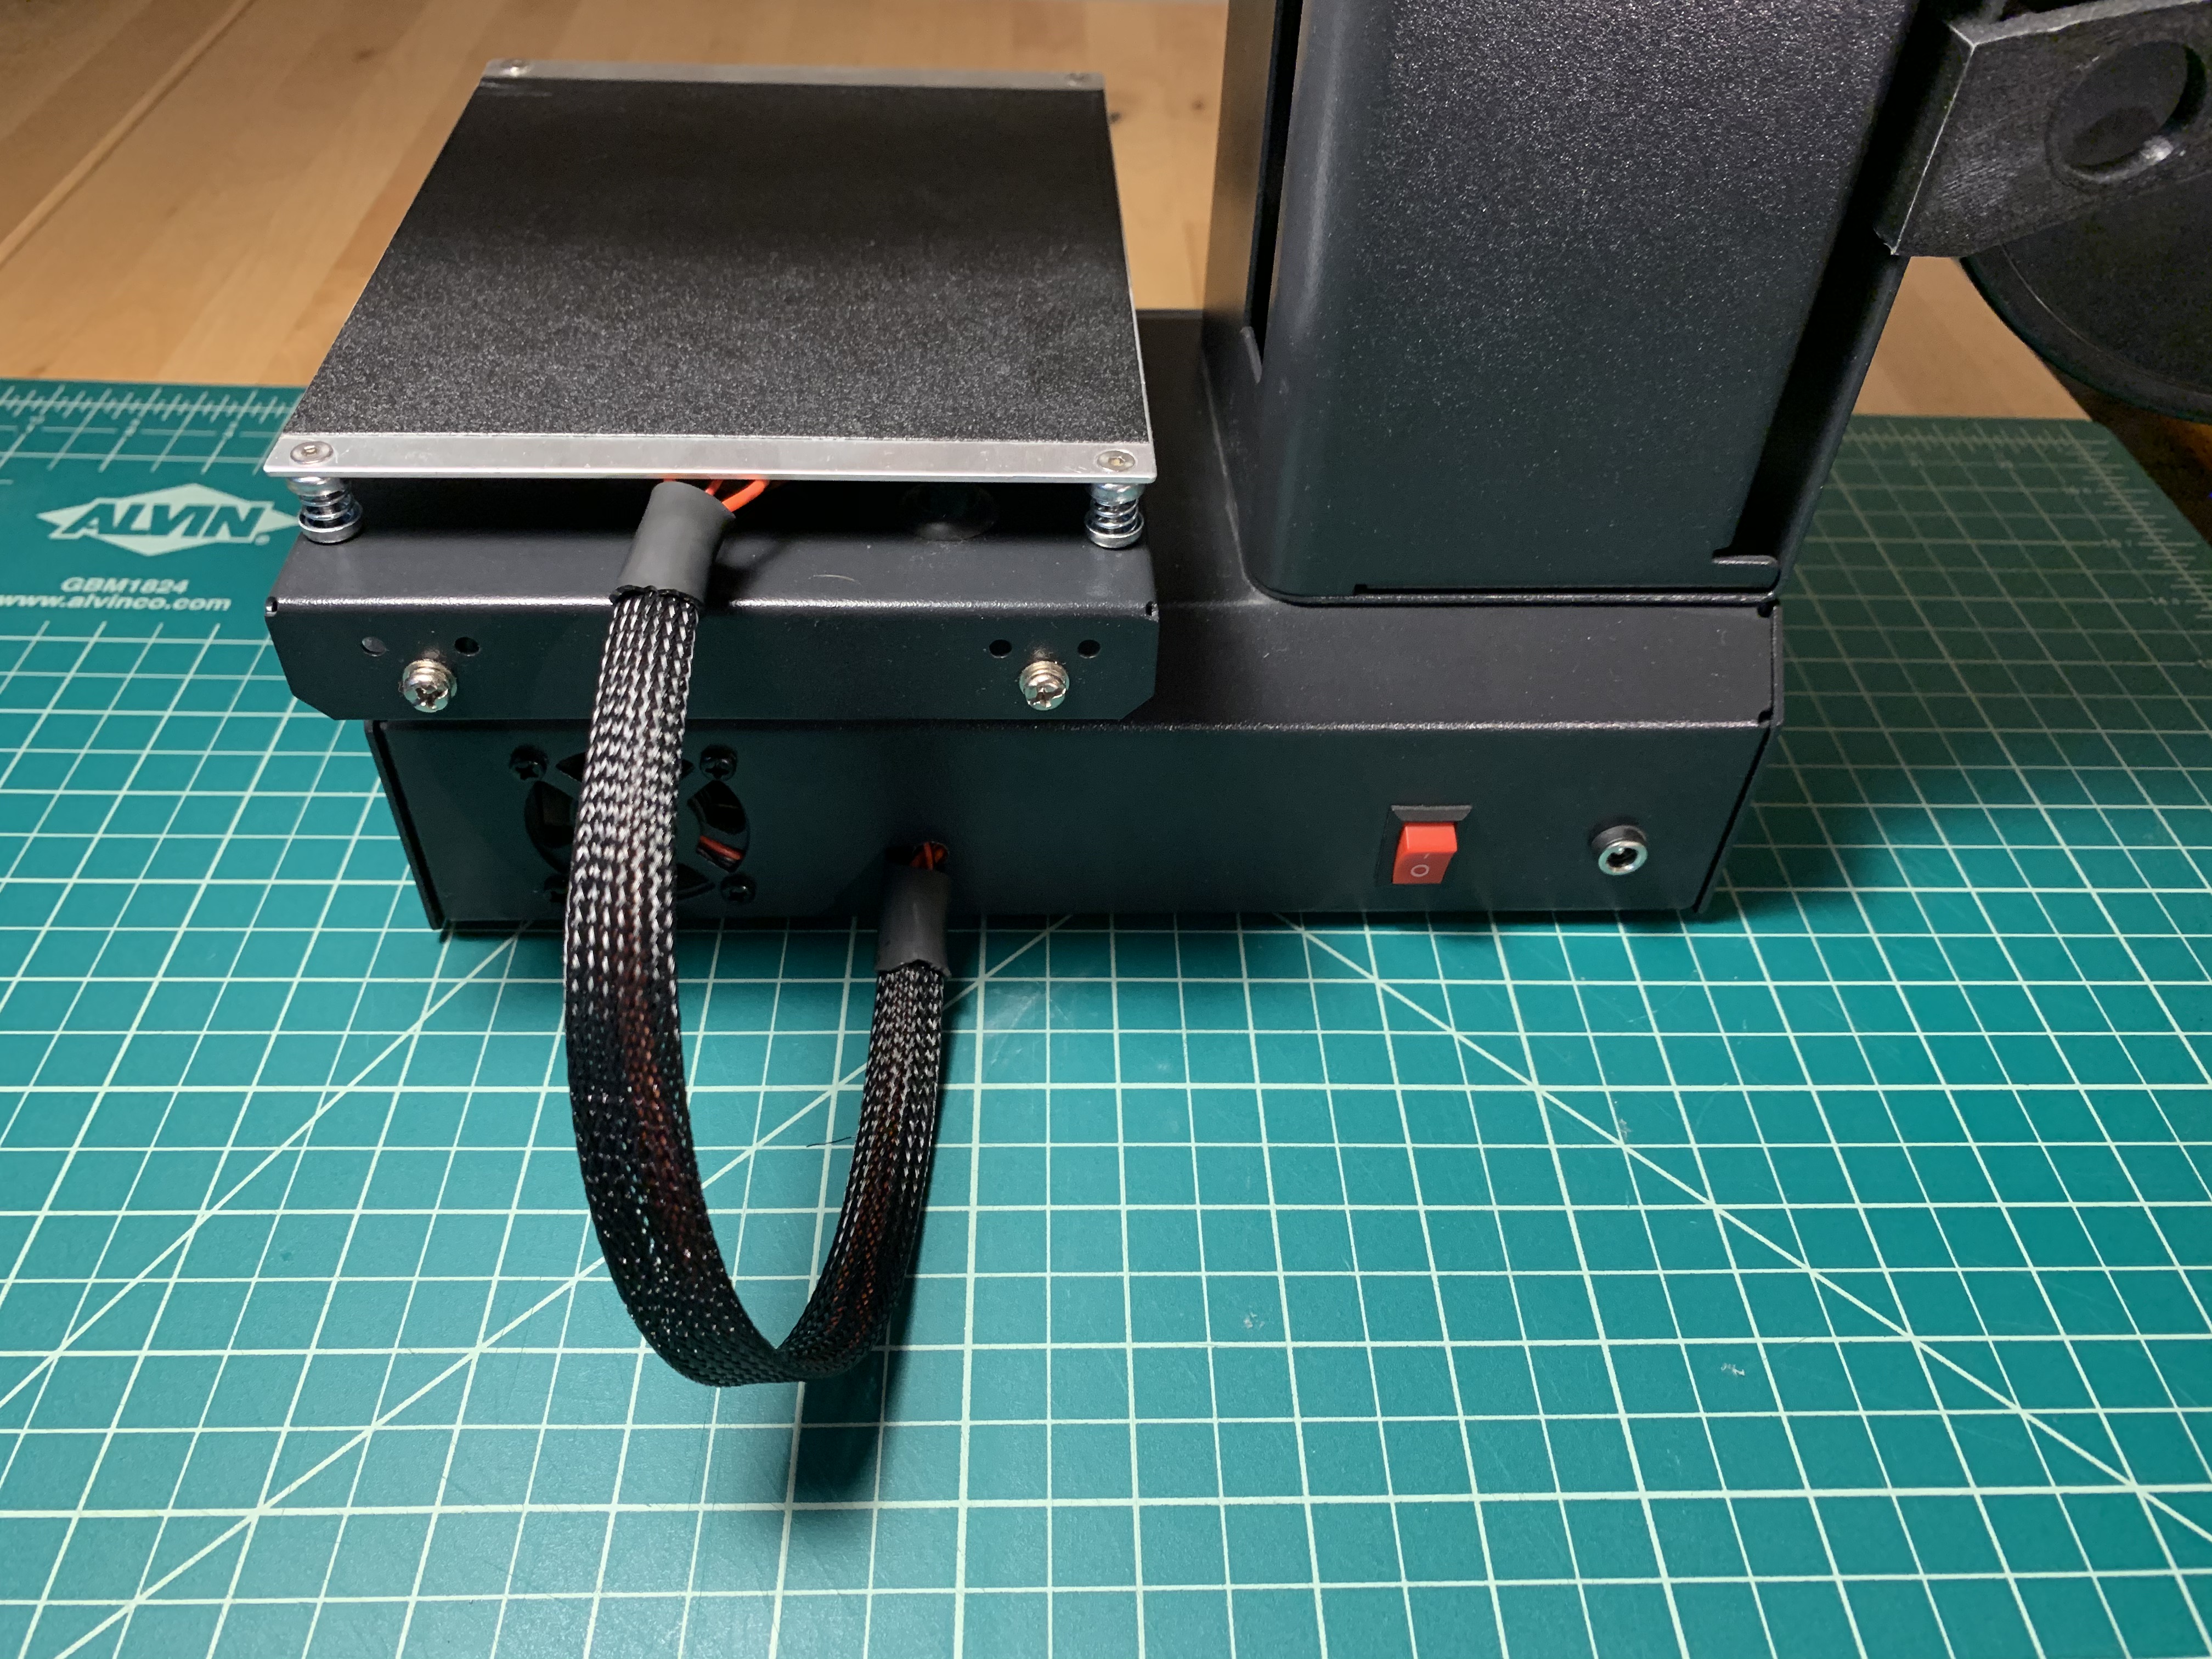
I’m really happy with how this turned out. The bed is back to heating up normally and the wires barely move in the new configuration. I think the printer should last a lot longer with this setup.
If you found this post useful consider buying me a coffee:
Related Posts
Experimenting With Low Cost 3D Printing
Custom 3D Printed MIDI Controller Knobs