How To Build Your First Robot

I've always wanted to build my own robot but I was never quite sure where to start or what to build. At work I write web applications but I don't have much experience with hardware. Last fall I finally made the decision to tackle my first robot. It turns out much like building web apps (and most other things) by breaking up the problems into small pieces and putting in the time you can accomplish a lot. Here's a look at how I got started and hopefully how you can too!
Choose A Project That Excites You
Finding a project that excites you is key to tackling any problem that seems out of reach. When you're working on something you care about you'll be much more motivated to work through the issues. For me choosing a project started by finding this video.
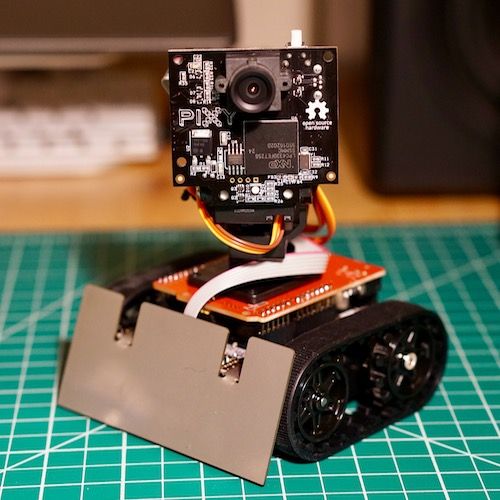
Most of my prior research lead to creative and unique robots that seemed very complex or simple robots that weren't exciting. The Pixy Pet robot seemed reasonably simple to build but also retained a cute, functional, and animated look.
Find A Guide Or Someone Who Has Already Built It
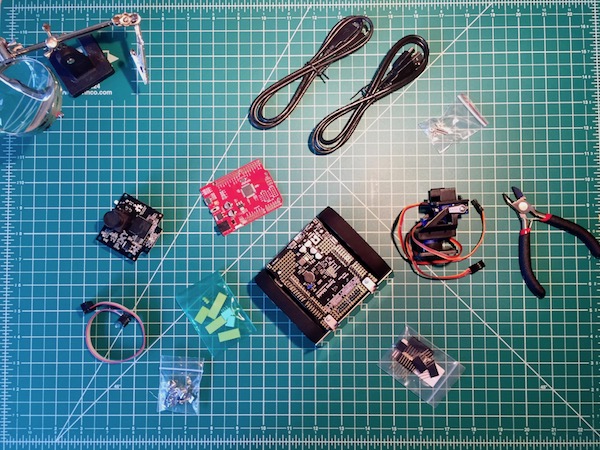
After deciding this was the robot I wanted to build I set out to figure out how to do it. Luckily Adafruit already had an excellent guide on how to build this robot. I went ahead and ordered the parts and started reading up on the build process. For anyone already involved in robotics I'm sure this build will seem incredibly simple but looking at it without any knowledge of robotics or arduino was quite daunting.
Order And Assemble The Hardware

The build itself actually went quite fast. This was largely due to ordering the assembled track base as I was unsure of the complexity of the project. At the time I thought would be more comfortable solving software issues than hardware. While I think that was the right choice for my first robot I wouldn't go with the pre-assembled base again. It turns out I really enjoyed the hardware assembly for the parts I did have to do! The most complicated part was soldering the Seeduino board to the base of the robot. Thanks to a previous summer job I have some experience soldering but I don't think it was necessary. Somebody without any experience could do it after watching a YouTube video or two on soldering.
Load Or Program The Software
The programming turned out to be the most complex part of the process. The guide does include all the basic code you need. You won't need to write anything on motion tracking from scratch! That said I ran into a couple small issues due to my lack of Arduino knowledge. The guide was written using the Arduino Leonardo board which has been discontinued. As per their suggestion I used the Seeduino board which is compatible with the build. What I didn't realize is that you have to separately download the Seeduino board code into Arduino Studio and select the correct board before starting.
Overall the build wasn't nearly as complex as I had initially assumed. It took some time to figure out but working through step by step I was surprised how fast everything came together. I'm really happy with how the robot turned out and am looking forward to customizing it now that I have it running. The main takeaway for me has been that robotics aren't nearly as unapproachable as they often seem. I highly encourage anyone who is interested to give it a try!